Dehumidifiers After Flooding: What You Actually Need
After flooding, a household dehumidifier is usually undersized and too slow. Learn the difference between LGR and conventional units and how sizing works.
Read guide →A professional water damage inspection maps hidden moisture with meters and thermal imaging, then produces a written scope of work. Here is what to expect.
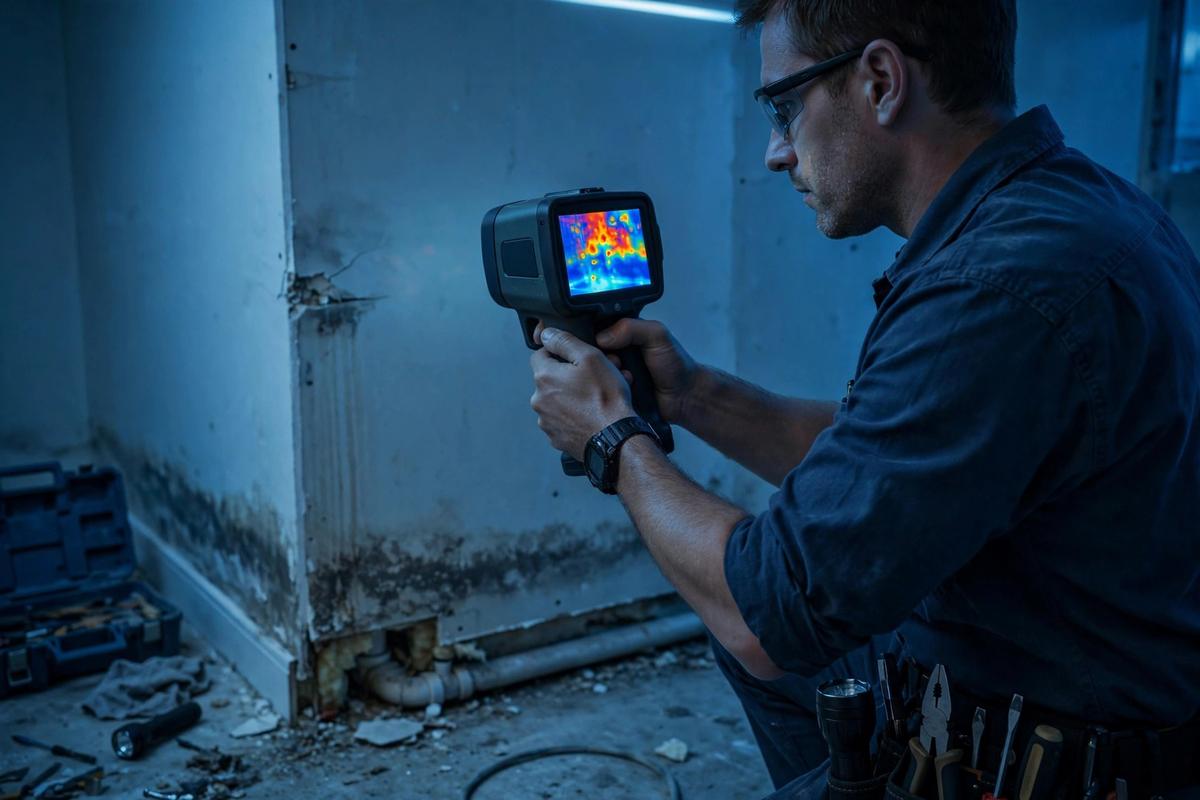
During a professional water damage inspection, a technician identifies the water source, maps how far moisture has spread using moisture meters and thermal imaging, classifies the water contamination category, and produces a written scope of work detailing what needs to be dried, removed, or repaired. The inspection typically takes 30 to 90 minutes for a typical residential loss.
The inspection starts with the obvious question: where did the water come from? The technician traces the water to its origin, such as a burst pipe, appliance failure, roof leak, foundation seepage, or sewage backup. Identifying the source matters because it determines the water's contamination category (clean, gray, or black water), which dictates the entire cleanup approach and safety precautions.
If the source is still active, for example a pipe still leaking, stopping it comes before everything else. A good inspector will help you shut off the supply or stabilize the situation before documenting the damage.
Water rarely stays where you see it. It wicks up drywall, spreads under flooring, and migrates into wall cavities and subfloors. Moisture mapping is the systematic process of finding everywhere the water went, including places that look and feel dry.
Pin meters use two small probes inserted into materials like wood and drywall to measure moisture content directly. They are precise and excellent for establishing baseline readings in framing and subflooring.
Pinless meters scan surfaces with electromagnetic signals without puncturing them, making them ideal for finished surfaces like hardwood floors and tile where you do not want probe holes. Technicians often use both types to cross-check readings.
Infrared cameras detect temperature differences that reveal hidden moisture. Wet insulation and saturated drywall cool differently than dry materials. Thermal imaging lets the inspector scan large areas quickly and find moisture behind walls and under floors without demolition. It does not measure moisture directly, so it is always paired with meter readings.
Together, these tools produce a moisture map: a room-by-room picture of affected materials and their moisture levels, which becomes the blueprint for the drying plan.
The inspector classifies the water loss, which determines the scope and safety requirements:
Note that clean water degrades: a Category 1 loss left sitting for 48 to 72 hours can become Category 2 or 3 as bacteria multiply. This is one reason fast response matters.
A professional inspection should end with a written scope of work, not just a verbal estimate. It should describe:
This document protects you: it sets expectations, supports insurance claims, and gives you something concrete to compare if you get a second opinion.
A thorough inspector welcomes these questions. Vague answers, pressure to sign immediately, or a quote without any moisture readings are red flags.
Once the scope is agreed upon, mitigation begins: water extraction, equipment placement, controlled demolition if needed, and daily monitoring until moisture readings return to normal. The inspection's moisture map is what makes this process targeted instead of guesswork.
If you have had a leak, flood, or burst pipe and need a professional assessment, call (202) 449-5074. We connect you with local water damage providers in the Washington DC area who can inspect the damage, map the moisture, and get drying started quickly.
Need help right now? Call (202) 449-5074 — open 24/7. Water Damage DC will connect you with a local provider in Washington, DC.
Quick answers related to this guide.
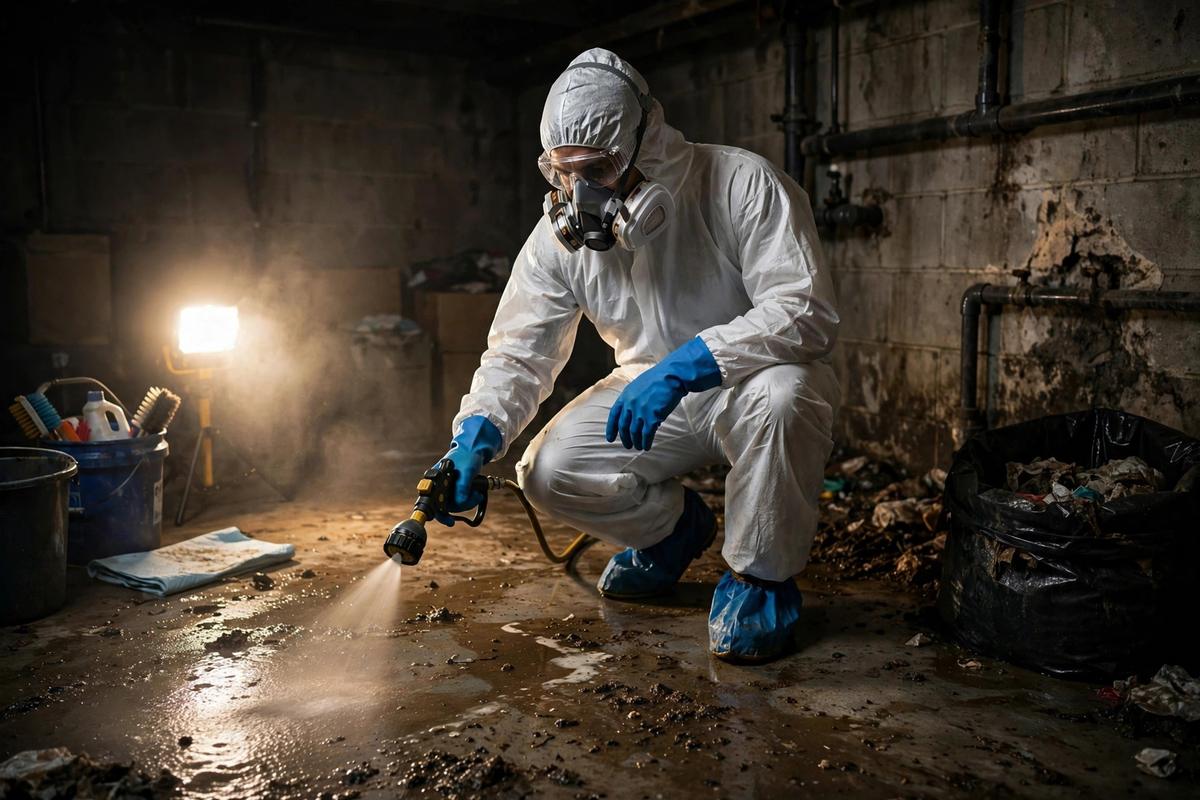
Water Damage Restoration covers the full job — from initial assessment and water removal through drying, cleanup, and repairs. We connect you with local providers in the Washington DC area.
Learn More →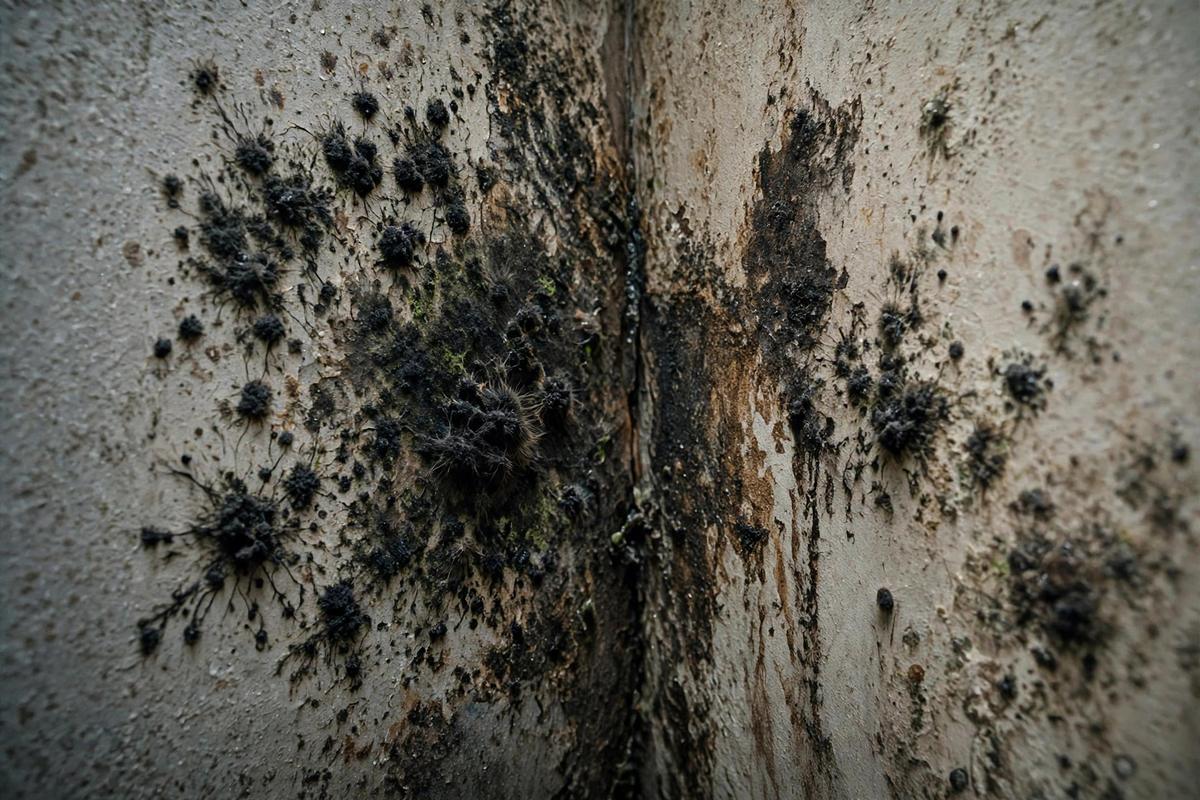
When water damages your property, emergency water damage restoration brings every phase of recovery under one coordinated process. Call now and we'll connect you with a nearby provider.
Learn More →
Water Damage Insurance Claim Assistance helps you navigate the claims process with proper documentation and estimates. We connect you with local providers in the Washington DC area.
Learn More →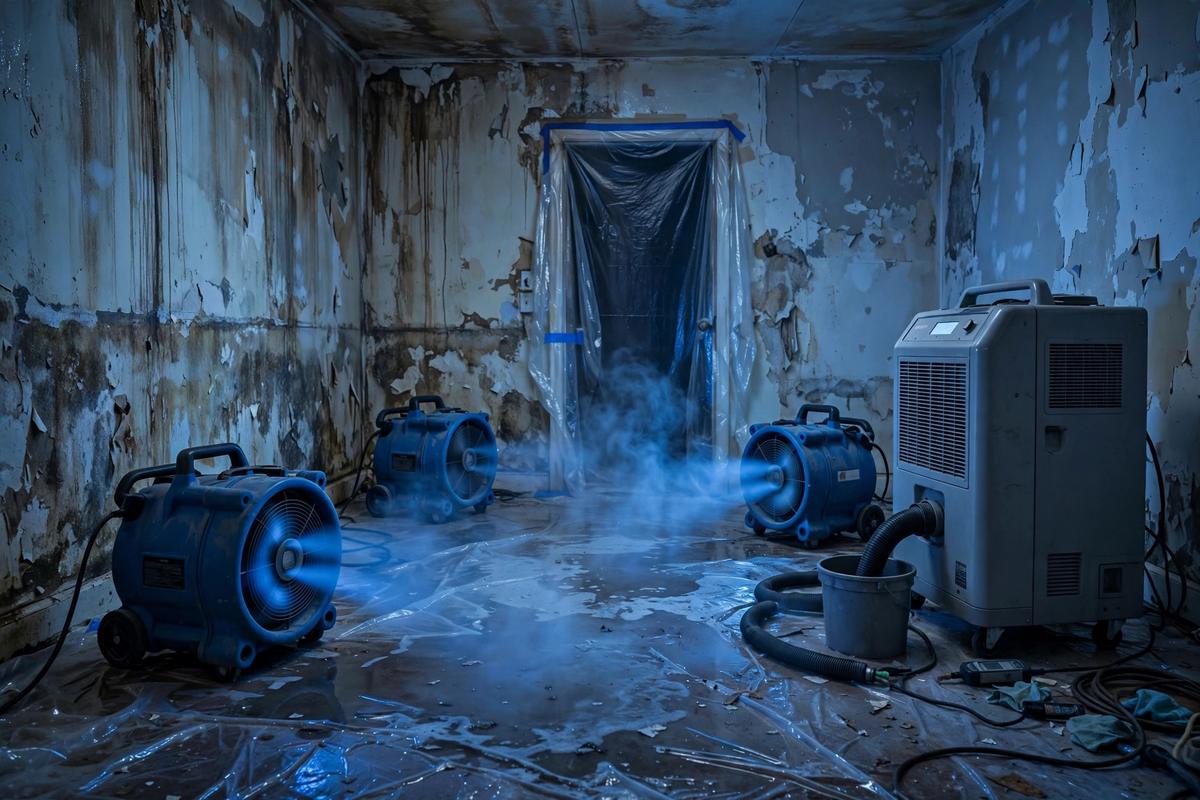
After flooding, a household dehumidifier is usually undersized and too slow. Learn the difference between LGR and conventional units and how sizing works.
Read guide →
Water damage is a race against time. See what happens at hour one, 24 hours, 48 hours, and beyond — and why calling for help fast changes everything.
Read guide →
Mold can start within 24–48 hours after water damage. Learn the early warning signs, immediate steps to take, and when to call a professional in Washington DC.
Read guide → Water Damage DC
Call Water Damage DC now and we'll connect you with a local provider in Washington, DC — no pressure, no obligation. Lines are open 24/7.
 Scan to call now